How to Install SSD in Old Laptop: The Ultimate Performance Upgrade
Install SSD in Old Laptop: Step-by-Step Upgrade Guide
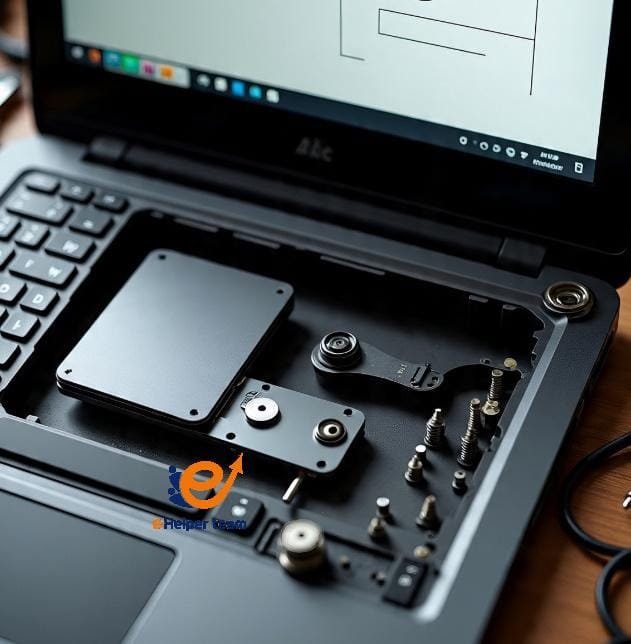
Upgrading your aging laptop can feel like a daunting task, but it doesn’t have to be. If your device is slowing down or struggling to keep up, the most impactful—and affordable—solution is to install SSD in old laptop. This guide walks you through the process step-by-step, from compatibility checks to cloning your old hard drive.
Why Upgrade to an SSD?
If your laptop feels slow, takes ages to boot, or struggles to open simple programs, the hard drive (HDD) is likely the bottleneck. Upgrading to a Solid State Drive (SSD) is one of the easiest, most affordable ways to dramatically improve your laptop’s performance, especially if it’s more than a few years old.

Here’s why it’s worth the upgrade:
1. Lightning-Fast Speed
Traditional hard drives use spinning disks to read and write data, which takes time. SSDs, on the other hand, use flash memory—no moving parts—allowing them to read and write data almost instantly.
Speed comparisons:
| Task | Old HDD | SSD |
|---|---|---|
| Boot Time | 1–2 minutes | 10–20 seconds |
| Opening Chrome | ~10 seconds | ~2 seconds |
| File Transfer (1GB) | ~60 seconds | ~15 seconds |
✅ With an SSD, your laptop boots faster, apps launch quicker, and tasks feel smoother overall.
2. Increased Reliability
Since SSDs have no mechanical parts, they’re far more resistant to shock, vibration, and wear. This is especially important for laptops, which are frequently moved around.
Lower risk of data loss due to physical damage
Better performance over time—HDDs tend to degrade faster
3. Quieter and Cooler Operation
SSDs are completely silent—no spinning or clicking like you’d hear with an old HDD. They also generate less heat, which:
Helps your laptop run cooler
Reduces fan noise
Can extend battery life by reducing energy consumption
4. Energy Efficiency
SSDs consume less power than HDDs, making them ideal for laptops where battery life matters. On average, an SSD can:
Reduce power usage by 30–50%
Extend battery life by up to 1 hour or more, depending on usage
5. Extended Laptop Life
If your laptop is showing its age but still works mechanically, upgrading to an SSD is like giving it a second life. It saves you the cost and hassle of buying a new machine.
You can also pair the SSD upgrade with a RAM upgrade (if needed) to further boost performance.
6. Great Value for the Money
Prices of SSDs have dropped significantly in recent years. For around $30–$60, you can get a 250GB–500GB SATA SSD—enough for the operating system, essential programs, and documents.
Compared to buying a new laptop for several hundred dollars, an SSD upgrade is a smart investment.
💡 In short: An SSD upgrade is the most impactful change you can make to an older laptop—offering faster performance, better reliability, and improved battery life, all at a low cost.

How to Check SSD Compatibility
Before purchasing an SSD, it’s essential to confirm what your laptop can support.
1. Identify Your Laptop’s Interface
Most old laptops use SATA interfaces, though some may support newer NVMe or M.2 SSDs.
SATA III: Most common in laptops made before 2016.
M.2 NVMe: Requires a specific slot—rare in older models.
2. Check SSD Size
SSDs come in 2.5-inch or M.2 formats. Most older laptops use the 2.5-inch size.
3. Use Tools to Check
Use free tools like:
Speccy (by Piriform)
CPU-Z
Manufacturer’s website specs
These will help you determine compatibility for SATA, M.2, and drive thickness.
✅ Pro Tip: Look up your laptop’s model number + “specs” to find official hardware documentation.
Choosing the Right SSD
When shopping for an SSD, you’ll want the best mix of performance and reliability.
| Feature | SATA SSD | NVMe SSD (if supported) |
|---|---|---|
| Speed | Up to 550MB/s | Up to 3,500MB/s |
| Price (per GB) | Lower | Higher |
| Compatibility | Older laptops | Mostly newer laptops |
| Best Use Case | Everyday tasks, office work | Gaming, editing, heavy tasks |
Recommended SATA SSDs for laptops:
Samsung 870 EVO
Crucial MX500
Kingston A400
For most users, a sata ssd for laptop is the safest and most cost-effective option.
Step-by-Step: How to Install SSD in an Old Laptop
Step 1: Backup Your Data
Before making any hardware changes, back up your important data using:
External hard drives
Cloud storage (e.g., Google Drive, Dropbox)
Backup software
Step 2: Clone Your HDD to SSD
To keep your operating system and files, you’ll want to clone hdd to ssd free using tools like:
Macrium Reflect Free
EaseUS Todo Backup
AOMEI Backupper
✅ Tip: Always connect the new SSD via a USB-to-SATA adapter for cloning.
Step 3: Open Your Laptop
What You Need:
Small Phillips screwdriver
Anti-static wrist strap (optional but recommended)
User manual or teardown guide
Steps:
Turn off your laptop and disconnect all power.
Unscrew the back panel.
Locate the hard drive bay.
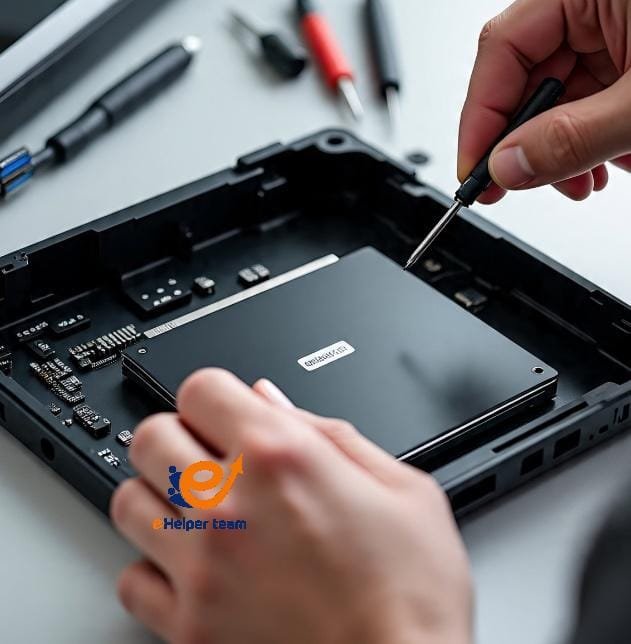
Step 4: Replace the HDD with the SSD
Remove the old hard drive carefully.
Insert the SSD into the same SATA connector.
Screw it into place and reassemble the panel.
How to Migrate Windows to New SSD
Once the cloning is done, your laptop should boot from the SSD immediately. But if it doesn’t:
Enter BIOS (usually by pressing F2, DEL, or ESC on startup)
Set the SSD as the primary boot drive
If you prefer a fresh start, reinstall Windows directly by downloading it from Microsoft’s website.
Related Tip: Learn more about how to migrate Windows to a new SSD without losing files by using partition tools or migration software included with the SSD.

Performance Test: Old HDD vs SSD Upgrade
Here’s a real-world example comparing a 2014 Dell Inspiron with its original HDD vs a new SSD:
| Task | HDD (Before) | SSD (After) |
|---|---|---|
| Boot Time | 1 min 45 sec | 18 sec |
| Chrome Launch Time | 12 sec | 3 sec |
| File Transfer (1GB) | 1 min | 15 sec |
| Windows Updates | ~45 min | ~15 min |
⚡ Result: A simple upgrade reduced everyday wait times by over 70%.
Common Mistakes to Avoid
Skipping backup before cloning
Buying the wrong size or interface
Not checking BIOS settings post-installation
Forgetting to activate Windows if doing a clean install
Call to Action
Ready to give your laptop new life? Don’t buy a new machine just yet. Instead, install SSD in old laptop and experience faster speed, better reliability, and longer battery life.
FAQ: Installing SSD in Old Laptops
Q1: Can I install any SSD in an old laptop?
A: Not exactly. Old laptops typically support 2.5-inch SATA SSDs, which are the most common and compatible type. You cannot install just any SSD—especially newer NVMe or M.2 drives—unless your laptop specifically supports those interfaces.
Here’s what to check before buying:
Connector Type: Most older laptops have a SATA interface. If your laptop has an M.2 slot, you’ll also need to determine if it supports SATA-based M.2 or NVMe.
Physical Size: SSDs come in different form factors (2.5″, M.2, mSATA). Ensure the SSD physically fits in your laptop’s drive bay.
Drive Height: Some ultrabooks only accept 7mm thick drives, while others can fit 9.5mm.
✅ Use tools like Crucial System Scanner or check the manufacturer’s website using your laptop’s model number to verify SSD compatibility.
Q2: Do I have to reinstall Windows after upgrading to SSD?
A: Not necessarily. You have two options:
Clone your existing HDD to the SSD using free software. This keeps all your files, settings, and Windows installation intact.
Do a clean install of Windows if you prefer starting fresh or if the old system is slow, infected, or corrupted.
Cloning is ideal for convenience, especially if you’re not comfortable reinstalling Windows or backing up files manually.
Common cloning tools include:
Macrium Reflect Free
EaseUS Todo Backup Free
AOMEI Backupper Standard
After cloning, you may need to change the boot order in BIOS to boot from the new SSD.
Q3: Will installing an SSD make my laptop faster?
A: Absolutely—this is often the most impactful upgrade you can make to an older laptop.
Here’s what an SSD improves:
Boot Time: From 1–2 minutes with HDD to ~15–20 seconds with SSD
Application Launch: Opens programs in seconds
Multitasking: Smoother and more responsive
File Transfers: Copy files 5–10x faster
SSDs also run quieter, generate less heat, and consume less power—extending your laptop’s battery life. If your laptop feels sluggish, upgrading to an SSD will make it feel like a new machine.
Q4: What’s the best free tool to clone HDD to SSD?
A: Macrium Reflect Free is widely considered the best free tool for cloning drives. It offers:
Easy-to-use interface
Reliable cloning without data loss
Option to create a bootable rescue media
Other good alternatives:
AOMEI Backupper Standard – beginner-friendly with step-by-step guidance
EaseUS Todo Backup Free – great balance of features and simplicity
All of these tools allow you to connect the new SSD via a USB-to-SATA adapter and perform a complete clone before physically installing it in the laptop.
Q5: How long does an SSD last?
A: Modern consumer SSDs are very durable and reliable. On average, a good-quality SSD will last:
5 to 10 years for typical home and office use
Up to 600 TBW (terabytes written) for many drives, which is more than enough for everyday users
Most SSDs include wear-leveling and TRIM support to manage storage cells efficiently. Unless you’re doing heavy video editing or data writing 24/7, your SSD will outlast your laptop.
✅ Look for SSDs with a 3 to 5-year warranty for added peace of mind.
Internal and External Resources
Internal Link: Top 10 Laptop Accessories for Productivity
External Link: Wikipedia – Solid State Drive


