Audio for Streaming Beginners: How to Sound Great Using a Cheap Mic
Audio for streaming beginners often feels like an intimidating realm filled with expensive gear and technical terms. But here’s the truth: you don’t need a fancy setup to sound great while streaming. With the right knowledge and affordable tools, you can achieve professional-grade audio even with a cheap microphone.
Whether you’re launching your first Twitch stream or building your YouTube presence, sounding clear and confident builds trust and engagement with your audience. Many streamers overlook sound quality, but viewers tend to tolerate lower video quality far more than distorted or noisy audio.
In fact, if you’re using free streaming software, like OBS or Streamlabs, your audio can be significantly improved just by tweaking a few settings. This article will walk you through everything—equipment, positioning, background noise removal, and more. For beginners deciding between OBS and Streamlabs, check out this helpful comparison.

Understanding the Importance of Good Audio in Streaming
Clear audio keeps viewers engaged. If your mic crackles, hisses, or picks up every click and background hum, users are far more likely to leave your stream. Great sound conveys professionalism and builds your personal brand.
Choosing a Budget Microphone That Delivers
Not all cheap mics are created equal. Some provide excellent sound when used correctly.
USB vs. XLR: Which One is Right for You?
USB mics are plug-and-play, perfect for beginners.
XLR mics offer professional quality but require an interface or mixer.
Top Affordable Microphone Brands
FIFINE – Known for excellent value in their USB range.
Maono – Excellent noise handling and warm tone.
TONOR – Trusted for clear vocals in budget setups.
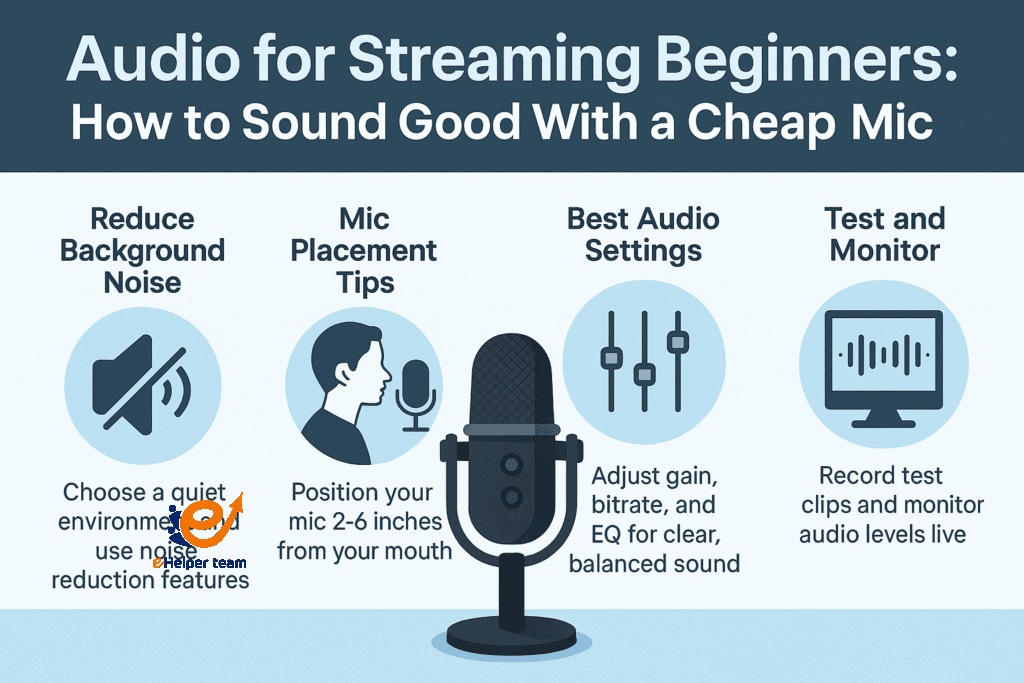
Mic Placement Tips to Improve Your Sound Instantly
Microphone placement dramatically affects how your voice sounds. Follow these tips:
Keep the mic 6–12 inches from your mouth.
Use a pop filter to soften plosives (p, b, t sounds).
Position it slightly below or beside your mouth—not directly in front—to reduce breathing noise.
Best Audio Settings for Streamers Using Budget Gear
Great sound is about more than the mic—it’s about how you configure it.
OBS Settings for Clear Audio
Enable Noise Suppression and Gain Control filters.
Use Compressor to balance volume during loud and quiet moments.
Audio Settings in Streamlabs
Similar to OBS, Streamlabs allows real-time monitoring and filter application. You can learn more about the differences in OBS and Streamlabs here.
How to Remove Background Noise Without Fancy Equipment
Built-in Software Filters
OBS and Streamlabs both offer built-in filters like:
Noise Gate: mutes mic when you’re not speaking.
Noise Suppression: eliminates constant hums.
Free Tools for Noise Removal
Krisp.ai: AI-powered real-time noise cancelation.
Audacity: Free audio editing software with noise profile cleanup.
Using Your Smartphone as a Streaming Microphone
Did you know your phone’s mic may outperform your cheap standalone mic?
Apps like WO Mic or iVCam let you turn your phone into a high-quality mic for streaming. This guide on how to use your phone as a webcam and mic walks you through the steps.
Room Setup for Better Acoustics on a Budget
Add soft materials: curtains, rugs, pillows.
Avoid recording in large empty rooms.
Consider placing foam panels or even thick blankets behind your mic.
Monitoring and Testing Your Audio Effectively
Don’t wait for viewers to tell you your sound is bad. Use these tools:
OBS Monitor feature
Headphones to hear feedback
Record short test clips and review them
Success With Simple Setup
Jane, a 42-year-old gamer from the UK, started streaming using only a TONOR mic and her laptop. After adjusting her mic placement and adding basic OBS filters, her stream quality improved dramatically. She gained over 1,000 subscribers in 3 months, mostly due to her crisp audio.
Want to boost your following too? Check out these 5 websites that can help grow your YouTube presence for free.
Using Audio Interfaces with Cheap Mics for Better Quality
For audio for streaming beginners, a budget microphone can be pushed beyond its limits when paired with a simple audio interface. While many assume audio interfaces are only for professionals, several entry-level models are surprisingly affordable and user-friendly.
What is an Audio Interface?
An audio interface is a device that converts analog audio signals into digital ones, enabling better sound quality, more consistent volume, and access to advanced settings such as gain control, phantom power, and audio monitoring.
Why Use It with a Cheap Mic?
Even with a low-cost XLR microphone, adding an interface like the Focusrite Scarlett Solo or Behringer UMC22 can:
Reduce latency and feedback
Allow real-time monitoring
Enable custom EQ adjustments
Improve dynamic range
When combined with good mic placement tips and best audio settings, an audio interface helps elevate a basic setup to a semi-professional level.
Beginner-Friendly Interfaces to Consider
| Interface Model | Price Range | Features |
|---|---|---|
| Behringer UMC22 | $40–60 | XLR input, USB powered, gain knob |
| Focusrite Scarlett Solo | $100–120 | 48V phantom power, zero latency |
| M-Audio M-Track Solo | $50–70 | USB, headphone monitoring |
This upgrade is perfect for users not yet ready for expensive condenser mics but looking to enhance their streaming quality step by step.

FAQs
Q1: Can I use a gaming headset for streaming audio?
A: You can, but standalone USB mics usually provide better clarity.
Q2: What’s the best budget mic for under $50?
A: FIFINE K669B or Maono AU-PM421 are excellent choices.
Q3: How do I stop my mic from picking up keyboard sounds?
A: Use a directional mic and activate a noise gate filter in OBS.
Q4: What should I do if my voice sounds tinny?
A: Adjust EQ settings to reduce treble and boost mid-range.
Q5: Do I need a soundproof room?
A: Not necessarily. Smart placement and soft furnishings can do wonders.
Conclusion
Stepping into the world of live streaming doesn’t have to mean investing in expensive gear. For audio for streaming beginners, knowing how to work with a cheap mic—and make it sound great—can set the foundation for long-term success. With smart mic placement, basic audio settings, effective noise reduction, and even leveraging your smartphone or an entry-level audio interface, you can significantly upgrade your audio game without stretching your budget.
Remember, great sound builds trust and keeps your viewers engaged. By applying the tips and tools we’ve covered—from software filters to affordable hardware—you’re already ahead of the curve.


